Simple Steps on Cleaning Your Breville Toaster Oven
There’s no denying the utility and convenience of the Breville Toaster Oven found in many households across America. This top-of-the-line kitchen appliance makes cooking a breeze. However, routine maintenance and proper cleaning are vital to ensure its longevity and optimal performance. This guide will aid you in taking the first step towards mastering the maintenance of your Breville Toaster Oven. It, intricately, explains each part and educates you about safe handling, disassembling, reassembling, and the most effective ways of cleaning your kitchen companion. This knowledge is pivotal in keeping your Breville Toaster Oven running smoothly and dazzles like brand new.
Understanding Your Breville Toaster Oven
Understanding the Parts of the Breville Toaster Oven
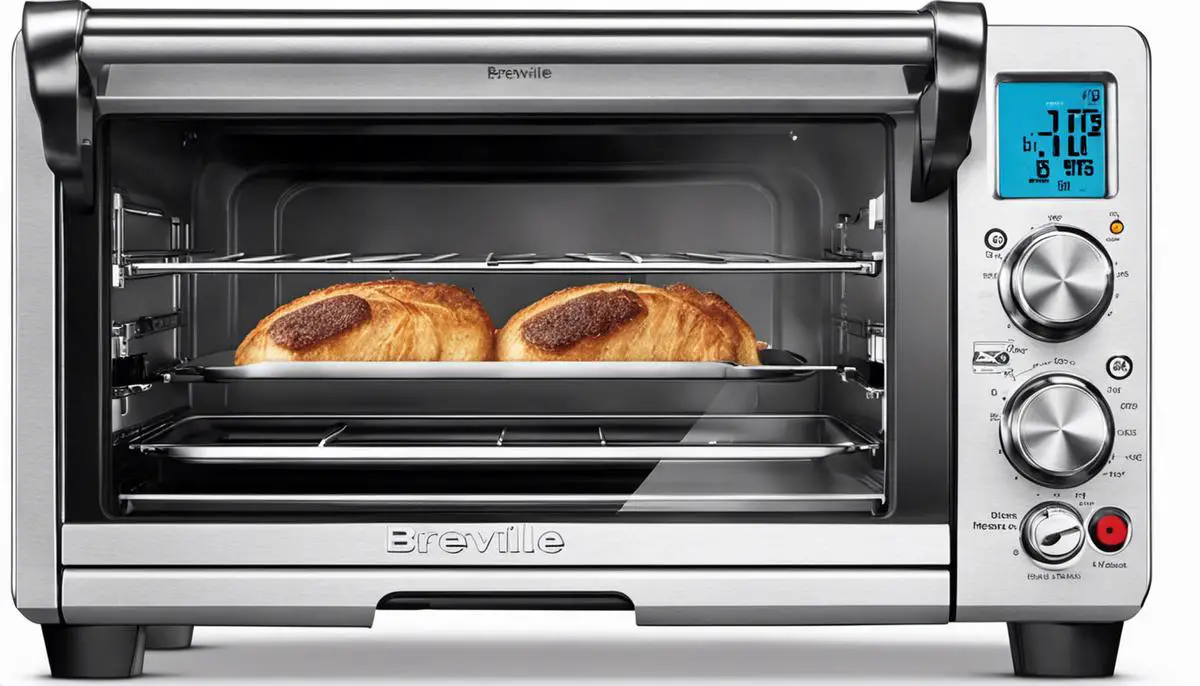
The Breville Toaster Oven is made up of several key parts. The exterior includes the housing, handle, and control panel with dials and buttons for temperature, time, and cooking modes. Inside, you’ll find the oven rack, crumb tray, broil rack, and pizza pan (not standard with all models). Each part has a specific purpose and, thus, a specific method for cleaning.
The Manual is Your Guide
Breville Toaster Oven’s manual provides detailed instructions on how to clean and maintain your oven. The manual will inform you of the necessary precautions and steps to effectively clean your oven while preventing any damage. If your manual gets lost, digital copies are typically available online on Breville’s website.
Items Safe for Removal and Cleaning
The removable parts of the Breville Toaster Oven include the oven rack, crumb tray, broil rack, and pizza pan. These items can be easily unattached for cleaning. It’s safe to wash these parts with warm soapy water, but you should ensure they are completely dry before returning them to the oven to avoid rusting.
Materials That Should Stay Dry
Electric components of the oven should not get wet. This includes the control panel with the dials and buttons as well as the heating elements inside the oven. The outer housing of the oven should be wiped down with a damp cloth, but not thoroughly soaked or submerged in water.
Choosing the Appropriate Cleaner
Specific cleaners for toaster ovens may vary depending on the model. It’s recommended to avoid harsh or abrasive cleaning agents as they could damage the surface of the oven. In most cases, simple dish soap, warm water, and a soft cloth or sponge are more than enough. Sometimes, a white vinegar solution can help with harder stains. Be careful with the interior walls; don’t scrub them harshly, as they are coated with a nonstick material that could be damaged. Always check with your specific model’s manual or Breville customer service if unsure.
Safe Disassembling and Reassembling of Your Breville Toaster Oven
Understanding Your Breville Toaster Oven Components
Your Breville Toaster Oven has various components that can be safely removed for cleaning, such as the crumb tray, racks, and interior walls.
How to Disassemble Your Breville Toaster Oven for Cleaning
Removing the Crumb Tray
- Unplug your toaster oven and allow it to cool down completely.
- Grasp the handle of the crumb tray, which is usually located at the base of the oven. Pull it gently towards you to slide it out.
- Detach the crumb tray carefully, ensuring no crumbs get stuck in the gap.
Removing the Racks
- Open the toaster oven door completely.
- Slowly pull each rack straight out until it comes free from the oven.
Cleaning Interior Walls
- The interior walls cannot be removed but can be easily cleaned while being careful not to directly touch the heating elements.
Properly Cleaning the Components
- Use a soft cloth or sponge and a gentle dish soap to wash the crumb tray and racks.
- Make sure to remove all food remnants and grease.
- For tougher stains, a baking soda and water mixture can be applied; let it sit for a few minutes before scrubbing gently.
- Clean the inside walls with the same mixture, scrubbing gently and avoiding the heating elements. Use a damp cloth to wipe clean.
- Thoroughly rinse all components with warm water until soap is fully washed away.
How to Reassemble Your Breville Toaster Oven
- Ensure all the removed parts are completely dry to avoid any electrical hazards.
- Place the racks back into the oven by sliding them into their appropriate slots. Make certain the wire racks are securely positioned.
- Insert the crumb tray back ensuring it is fully inserted into the oven.
- Take a final look to ensure all components are securely placed and promptly initiate a check by running the toaster oven on an empty cycle.
Remember, proper maintenance of your Breville Toaster Oven will extend its life and efficiency. Regular cleaning is key.
Effective Breville Toaster Oven Cleaning Techniques
Choosing the Right Cleaning Supplies
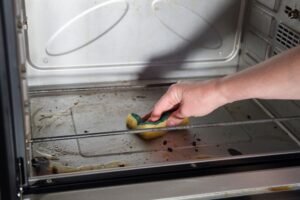
To achieve effective cleaning results, choose non-abrasive cleaners, such as mild soap and water, vinegar, or a baking soda solution. Avoid any heavy chemicals (including bleach), steel wool, or rough brushes, as they can scratch and damage your Breville toaster oven.
Cleaning the Exterior
Start cleaning the toaster oven by unplugging it and then focusing on the exterior. Use a clean, damp cloth to wipe down the exterior surfaces. If stubborn grease stains persist, moisten your cloth with a mild vinegar solution. Ensure that buttons, knobs, and the cord are wiped but not excessively wet, to prevent damage.
Cleaning the Glass Door
Cleaning the glass door is crucial for maintaining visibility while using your toaster oven. Create a paste with equal parts of baking soda and water. Apply the paste to the oven’s door, let it sit for 15 to 20 minutes, and then wipe it off with a damp cloth. For persistent stains, a scraper can be used, but be extremely careful not to scratch the glass.
Cleaning The Interior
Before starting, ensure the toaster oven is completely cool. Wearing rubber gloves for safety, clean the interior with a cloth moistened in warm soapy water or a vinegar-water solution (equal parts). Do not use a soaked cloth; excess water can damage the heating elements. Pay special attention to corners and underneath heating elements.
Cleaning Racks and Accessories
To clean the racks and accessories of the Breville toaster oven, remove them and soak them in warm, soapy water. You can also use a solution of vinegar and water. After soaking, scrub gently with a non-abrasive sponge or brush. Rinse well and make sure they are completely dry before reinserting them into the toaster oven.
Maintenance Tips
To make the cleaning process easier in the future, regularly wipe down the interior of your toaster oven to prevent the build-up of crumbs and grease. Place a tray or aluminum foil at the bottom of the oven to catch drips and reduce cleaning time.
Remember, it’s important to clean your Breville toaster oven regularly to ensure its longevity and performance. Regular maintenance also prevents the accumulation of any burnt materials that could potentially catch fire under high heat.
Conclusion
Once you’ve walked through these decisive steps, knowing your Breville Toaster Oven inside and out should no longer feel like a daunting task. With this thorough knowledge, you can smoothly disassemble, clean with the most potent and safe methods, and then reassemble your appliance, giving it a brand-new shine and extending its lifespan. Remember, regular cleaning isn’t just about aesthetics; it’s about food safety, efficiency, and prolonging the life of your appliance. Here’s to many more years of delicious meals with your impeccably maintained Breville Toaster Oven.


