

Quick Guide to Breville Toaster Oven Thermal Fuse Replacement
Gaining thorough knowledge of your home appliances can drastically save you time and resources, especially when it malfunctions. One of these valuable skills is understanding the makeup of your Breville toaster oven, particularly its thermal fuse – an unsung hero designed to protect your appliance from overheating and related risks. This handy device is often the culprit when your oven suddenly refuses to heat up, making it an essential component to familiarize yourself with.
In this piece, we’re going on an exploratory journey to learn the ins and outs of a thermal fuse, from its function and location in your specific Breville model to the safe removal and installation precautions. Keep reading to learn about safe and effective thermal fuse replacement in your Breville toaster oven.
Understanding the Function of a Thermal Fuse
Understanding the Thermal Fuse and its Function in a Toaster Oven
A thermal fuse, typically found in many heat-generating appliances like toaster ovens, is a vital safety component. Its main job is to guard the device from overheating thereby preventing any fires or electrical accidents which may be caused by high temperatures. It is often installed in the circuit of an appliance to interrupt the flow of electricity when the set operating temperature is exceeded.
The thermal fuse comprises mainly of two parts: a piece of fusible alloy and the encasing. The alloy is designed to fuse or melt at a specific temperature. When the operating heat goes beyond the predetermined temperature, the fuse melts, breaking the circuit and thereby cutting off the electrical power supply to the appliance.
As it is a single-use part, once the thermal fuse is blown due to overheating, it cannot be reset and must be replaced.
Protecting your Toaster Oven from Overheating and Potential Hazards
The thermal fuse plays a crucial role in the safety operation of a toaster oven. Toaster ovens generate a substantial amount of heat to cook the food quickly. The interior of the toaster oven can reach high temperatures, thereby increasing the risk of overheating or even fire.
To prevent overheating, the thermal fuse halts the electrical power, effectively stopping the operation of the oven and reducing the chance of any subsequent hazards. In fact, if your toaster oven stops working suddenly, it may be due to a blown thermal fuse.
Thermal fuses are usually quite sensitive and react quickly to abrupt changes in temperature. This therefore means that your appliance should never reach a dangerous level of heat as the fuse will blow before this can occur, representing an additional layer of protection.
Recognizing and acknowledging the functionality and purpose of the thermal fuse in your toaster oven is the first step in learning how to replace one. It’s not just about keeping your appliance working, but also ensuring the safety of your home and those who live in it.
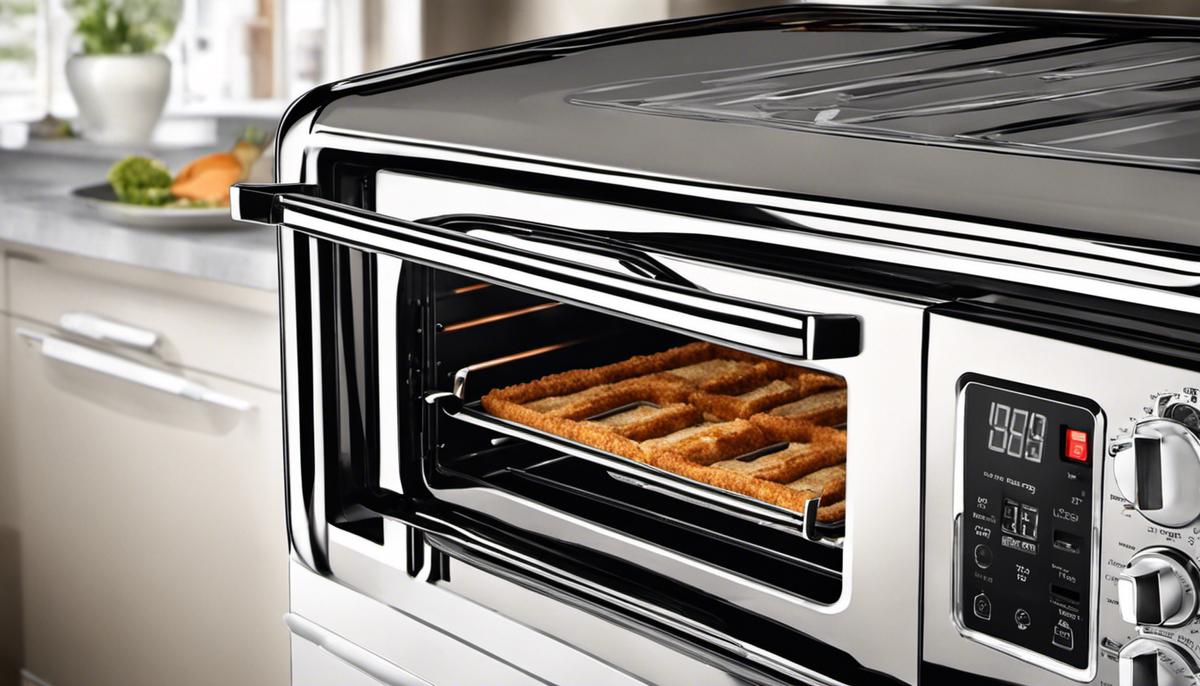
Identifying the Thermal Fuse in Breville Toaster Oven
Identifying the Thermal Fuse in a Breville Toaster Oven Before Conducting a Thermal Fuse Replacement
The thermal fuse in a Breville toaster oven is usually located at the back of the unit. Beyond the outer casing, it often sits next to the heating element, serving as an important safety mechanism to prevent the oven from overheating.
The thermal fuse in a Breville toaster oven generally appears as a small, slim cylinder, usually covered by a wrap of insulating tape. It often has two wires of different colors (commonly red and black) snaking out from its body and will have metal caps on both ends that attach to the wires. If you don’t see it at first, keep looking: It’s small and might require careful searching.
Additional Tips for Finding the Thermal Fuse
For those having difficulty finding it, the appliance’s model number can be a handy resource when attempting to locate the thermal fuse. This number is usually etched or printed somewhere on the appliance, often on a metal plate on the back or bottom. It’s important to note that some Breville models may have slightly different fuse placements than others.
If you still have trouble locating the thermal fuse, check your Breville toaster oven’s user manual. The manual often contains detailed diagrams showing the appliance’s internal components. If you’ve misplaced your manual, most modern appliance manufacturers, including Breville, offer downloadable versions of their manuals on their websites.
Another useful resource for locating your thermal fuse is online forums and guide videos that deal specifically with toaster oven repairs, as these platforms can provide helpful visual aids and expert advice tailored to your particular Breville model. These resources can usually be found on common video-sharing websites or through a simple search engine query.
Remember, safety is extremely critical while dealing with appliances. If you’re unsure or uncomfortable trying to locate and replace the thermal fuse yourself, consider consulting with a professional technician or the manufacturer’s customer service.
Safe Thermal Fuse Replacement Procedure
Understanding the Thermal Fuse in a Breville Toaster Oven
The thermal fuse in a Breville Toaster Oven acts as a safety device. Its primary function is to stop the flow of electricity to the heating elements when the oven overheats, preventing potential fire hazards. If your oven stops heating, it’s likely that the thermal fuse has blown and needs replacement.
Gathering Your Tools
Before starting, gather the necessary tools required for this process. You’ll need a Phillips head screwdriver, a small flat-head screwdriver, pliers, a new thermal fuse suitable for your oven model, and an anti-static wrist strap for grounding.
Grounding Yourself
Firstly, to avoid the risk of electrostatic discharge that can harm electrical appliances, wear the anti-static wrist strap. Attach one end to your wrist and the other end to a grounded metal object.
Disconnecting The Oven
Safety should always be your primary concern when dealing with electrical appliances. Make sure to unplug the toaster oven from the power outlet before you start.
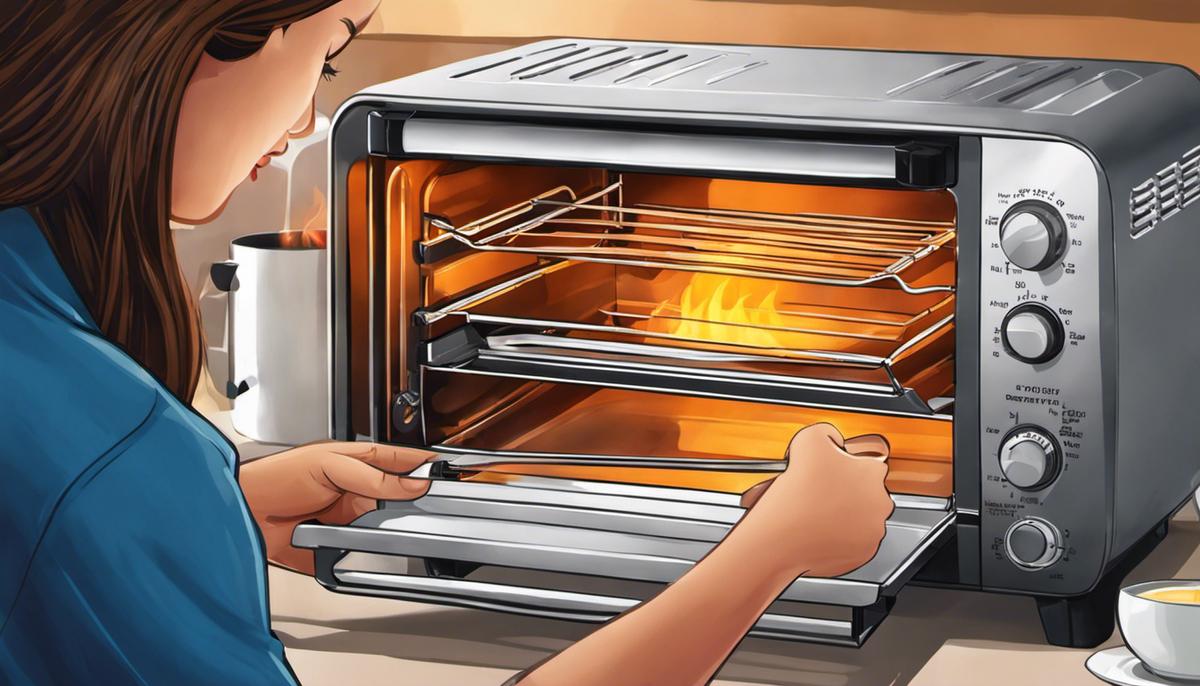
Accessing the Back of the Oven
Use your Phillips head screwdriver to remove the screws at the back of the oven. Once the screws are out, carefully lift off the back cover of the oven.
Locating the Thermal Fuse
The thermal fuse usually looks like a small silver cylinder or capsule fixed into the oven’s wire circuit. Be aware that it might be covered with a heat-shielding cloth or tape.
Removing the Faulty Fuse
Using your pliers, gently pull away the wires connected to each end of the thermal fuse. Be careful not to tug on the wires too harshly as it can damage them. Once you disconnect both wires, use your small flat-head screwdriver to pry out the faulty fuse.
Installing the New Fuse
Take your new thermal fuse and align it in the same direction as the old one. Connect the wires back onto the ends of the new fuse. It’s important to ensure a secure connection – loose connections might lead to heating issues or potentially even a fire.
Reassembling the Oven After Your Thermal Fuse Replacement
Reattach the back cover and securely screw it back into place with the screws you took out earlier. Make sure there are no loose screws as they could cause rattling during operation.
This process should successfully replace the thermal fuse in your Breville Toaster Oven. Remember, if at any point you’re unsure of what to do or if something doesn’t seem right, don’t hesitate to call a professional.
Testing and Troubleshooting After a Thermal Fuse Replacement
Step 1: Verify the Thermal Fuse Replacement
After replacing the thermal fuse in your Breville toaster oven, start by verifying the correct installation. Ensure that the new thermal fuse is secured firmly in place and that the connections to the wiring are solid. The thermal fuse should be properly seated and connected, with no loose, frayed, or broken wires.
Step 2: Perform a Safety Check
Before you plug in the toaster oven for testing, conduct a visual safety check. Look for any stray tools or objects you might have left inside the oven. Also, confirm that you correctly re-assembled all of the components and securely tightened them back into their appropriate positions.
Step 3: Test the Toaster Oven
You can now plug in your toaster oven and turn it on. Set it to toast mode and observe how it functions. The heating elements should begin to glow evenly, and the temperature should be consistent.
Step 4: Monitor the Toaster Oven’s Performance
For a more comprehensive test of your thermal fuse replacement, toast some bread. The bread should toast evenly on both sides. Pay attention to the timer and temperature controls as well, ensuring they’re functioning correctly. The toaster oven should shut off automatically once the set time is up.
Potential Issues: Troubleshooting after the Thermal Fuse Replacement
- Uneven or insufficient toasting: This might indicate a malfunctioning heating element or a problem with the oven’s thermostat.
- Toaster oven doesn’t turn on: Re-check the thermal fuse and its connections. A misaligned fuse or a defective replacement might prevent the oven from working at all.
- Overheating: If the toaster oven is consistently overheating, it could be a faulty thermostat.
- Automatic stop doesn’t work: The timer or the control board might require maintenance or replacement.
Bear in mind that while you can often perform simple repairs like the thermal fuse replacement at home, you may need professional assistance for more complex issues.
Lastly: Consult Breville Support for Any Thermal Fuse Replacement Questions
If you continue to experience issues with your toaster oven or are uncomfortable performing any troubleshooting steps, consider reaching out to Breville customer support or a qualified appliance repair service. It’s vital to prioritize safety and avoid attempting any repairs or troubleshooting that exceeds your comfort and skill level.
Embodying a DIY spirit not only provides you with a ticket to an insightful learning journey but also acts as a lifesaver when encountering unexpected issues with your home appliances. Now that you’ve explored the Breville toaster oven’s thermal fuse and understand its purpose, can identify its location, learned the careful replacement process, and mastered the testing methodology, you can tackle a full thermal fuse replacement or any other issues that may arise.
Going forward, this knowledge equips you with the power to maintain the longevity of your toaster oven, ensuring it stays functionally warm and toasty for your cooking ventures.